Transform your kitchen in a single weekend with the hottest budget-friendly trend of 2025: DIY peel-and-stick backsplash. This simple upgrade delivers instant style, improved functionality, and long-term savings—no messy installation or expensive contractors required.
Why Peel-and-Stick Backsplash Is Trending
Today's homeowners are prioritizing easy, stylish, and budget-friendly Home Maintenance. Peel-and-stick tiles make it possible to revamp your kitchen without special tools or a construction background. According to Remodel Depot, peel-and-stick products—wallpaper, tiles, and wood paneling—are among the most popular DIY projects in 2025 for both renters and owners, owing to their affordability and simplicity[3].
Cost Benefits: Statistics That Matter
On average, hiring a professional to install a tile backsplash in the U.S. costs between $800 and $1,400. A DIY peel-and-stick solution often costs less than $200, saving homeowners up to 80% on installation[3]. With average yearly home renovation spending at $13,000 in Canada[4], Americans mirror these high costs and seek options to cut expenses dramatically.
In fact, The Farnsworth Group reports that 74% of U.S. homeowners cite cost savings as the primary motivator for DIY home maintenance—and peel-and-stick upgrades fit this need perfectly[6].
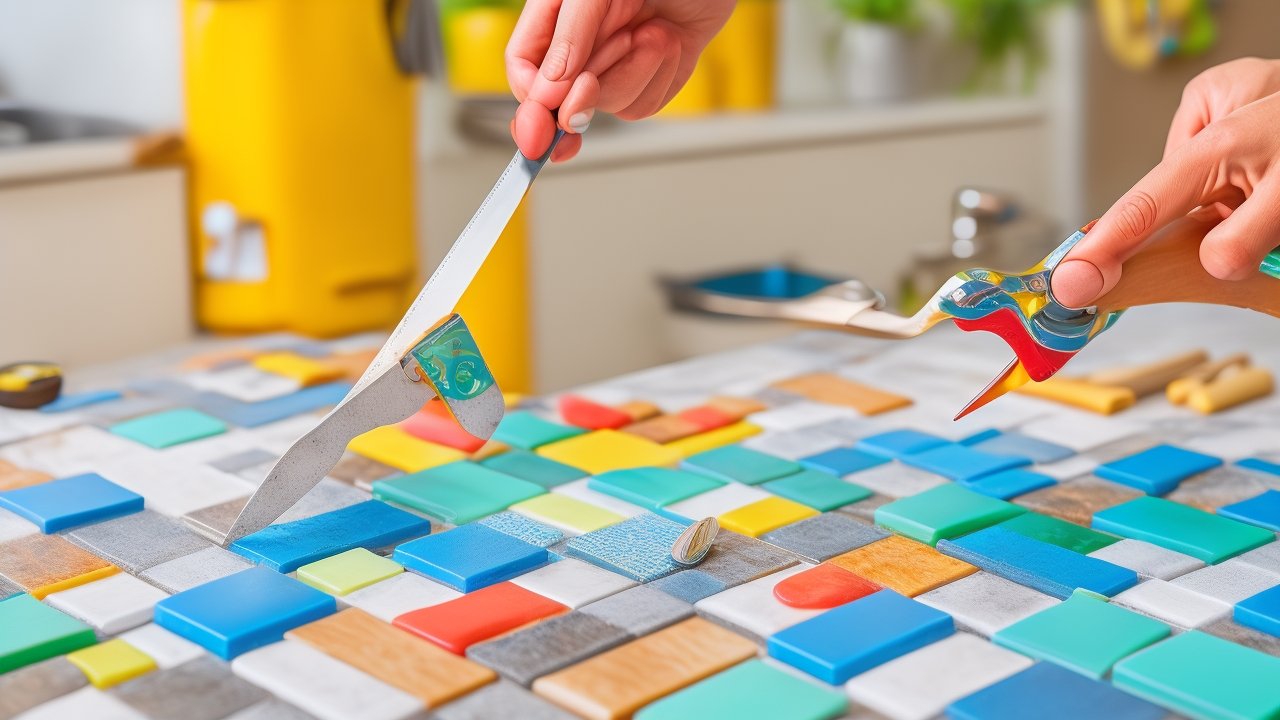
DIY Backsplash: Step-By-Step Guide
- Choose your style: Peel-and-stick backsplashes are available in marble, subway tile, mosaic, and geometric patterns to match any kitchen aesthetic.
- Prep your surface: Clean the area thoroughly to remove grease and debris. Dry completely for best adhesion.
- Measure and cut: Use a tape measure and scissors or a utility knife to custom-fit sheets to your wall area. Precision counts, especially around outlets and corners.
- Peel and apply: Remove the backing paper and press each tile firmly onto the wall. Smooth from the center outward to eliminate air bubbles.
- Seal edges: For a professional look, consider using caulk along edges and seams to keep out moisture.
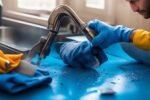
Cleaning and Maintaining Your New Backsplash
- Daily wipe-down: Use a soft sponge with warm soapy water. Avoid harsh abrasives to prevent scratching.
- Stain prevention: Clean up spills immediately, especially sauces and oils, to avoid permanent marks.
- Periodic inspection: Check for peeling corners or edges every few months, pressing them back if needed or replacing damaged tiles quickly.
Safety Precautions for a Trouble-Free Installation
- Work in a ventilated area: Some peel-and-stick products have mild adhesive fumes; keep windows open or use a fan.
- Use proper tools: Employ a utility knife with a sharp blade, and wear cut-resistant gloves for safety.
- Electrical safety: Turn off power at the breaker when working around outlets. Remove outlet covers before installing tiles and replace them afterward for clean edges.
Preventative Maintenance Tips
- Use backsplash protectors: Install a clear acrylic guard behind the stove or sink to extend lifespan and ease cleaning.
- Seal grout lines: For peel-and-stick tiles with grout-like seams, periodically apply a grout sealer to prevent moisture intrusion.
- Monitor humidity: Excessive steam from cooking can weaken adhesives over time. Run an exhaust fan or open a window to ventilate the kitchen during and after cooking.
Troubleshooting Common Problems
- Tile won't stick: Ensure the surface is clean and dry. If needed, use a mild degreaser before installation.
- Misaligned patterns: Carefully remove and reapply tiles within a few minutes of installation, before adhesive sets. Use a level or straightedge for precise alignment.
- Visible seams: Overlap edges slightly and press firmly to minimize gaps. Conceal seams with matching caulk for a seamless look.
- Peeling corners: Apply multipurpose adhesive or double-sided tape under loose areas and press for 30 seconds for a permanent fix.
Why DIY Backsplash Is a Smart Home Investment
Besides saving hundreds on installation, you create a stylishly updated kitchen tailored to your taste. Peel-and-stick backsplashes are non-permanent—so renters can upgrade and remove them when moving, while homeowners enjoy hassle-free updates to match evolving design trends.
Energy-efficient and water-resistant materials are now widely available thanks to this trend. Couples with the rise of smart thermostats and energy-saving appliance upgrades, which save Americans hundreds annually[2], many homeowners find that simple, strategic DIY Fixes truly compound savings year after year.
Additional Fast DIY Kitchen Fixes and Cleaning Hacks
- Refinish kitchen cabinets: Sand, prime, and paint for a fresh look. Use low-VOC paints to keep projects budget friendly and safe for indoor use[2].
- Install open shelving: Replace one wall cabinet with floating shelves for more storage, lighter aesthetics, and a lower material cost[1][2].
- Organize appliance storage: Build a DIY appliance garage to declutter your countertops and protect small devices[2].
- Upgrade lighting: Swap a dated fixture for a modern LED pendant to cut energy usage, enhance workspace, and boost safety.
- Hang window boxes: Brighten your kitchen window with DIY flower boxes for a pop of color that boosts curb appeal and indoor ambience[2].
Encouragement: Make Your Home Work For You
Tackling a DIY peel-and-stick backsplash proves that smart Home Maintenance is accessible, rewarding, and cost-saving for everyone. According to industry surveys, more than 60% of DIYers report greater satisfaction with results compared to professional work[6]. Whether you're troubleshooting a tired kitchen or searching for clever, budget friendly DIY fixes, you're taking control—empowering yourself with practical skills and elevating the value of your home.
Ready to roll up your sleeves and make your kitchen truly yours? Start planning your DIY backsplash today, and discover just how easy it is to save money, beautify your space, and renew your love of home. Your next successful project is only a weekend away!