Want to refresh your kitchen and add a designer touch without breaking the bank or hiring professionals? A DIY peel-and-stick backsplash is the 2025 home improvement trend making waves with homeowners and renters alike. This budget-friendly project offers instant style, boosts property value, and requires minimal tools, making it perfect for beginners and experienced DIYers.
Why Peel-and-Stick Backsplashes Are the Top DIY Trend in 2025
The home improvement market continues to thrive. According to Remodeling Magazine, Americans spent over $567 billion on home renovations in 2024, with 56% of projects completed by homeowners themselves (Remodel Depot, 2025; This Old House, 2025). Peel-and-stick materials—tiles, wallpapers, and wood paneling—have surged due to their simple installation, affordability, and modern look. A recent poll found that 68% of DIY enthusiasts prefer peel-and-stick solutions for kitchen and bathroom updates because they require no messy grout or special tools (Remodel Depot, 2025).
Benefits of Peel-and-Stick Backsplash DIY Projects
- Fast Installation: Complete the project in a single afternoon—stick, press, and enjoy your new look.
- Budget Friendly: Most peel-and-stick tile packs cost 50–70% less than traditional materials, making this upgrade accessible for all home improvement budgets.
- Minimal Risk: Easily reposition or remove tiles; ideal for renters or those who like to refresh styles frequently.
Step-by-Step Guide: Peel-and-Stick Backsplash
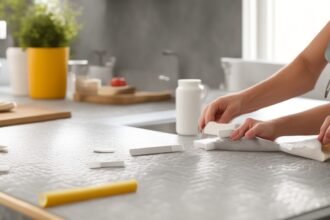
- 1. Gather Materials
Choose peel-and-stick tiles in your preferred color and pattern. Marble, subway, and geometric designs are on trend in 2025. You’ll also need a utility knife, measuring tape, cleaning cloths, and a straight edge. - 2. Prep Your Surface
Clean the wall with soap and water. Dry thoroughly and remove any old caulk. For best results, smooth out bumps or holes in the wall with spackling compound. - 3. Measure and Cut Tiles
Measure the area and plan your layout to minimize visible seams. Use a straight edge and utility knife to trim tiles for edges and corners. - 4. Apply Tiles
Peel off the back, align the tile, and gently press into place. Work from the bottom edge upward to ensure tiles stay straight. Use a rolling pin or your hands to press firmly and eliminate air bubbles. - 5. Seal Edges
For extra durability, run a bead of clear silicone caulk along exposed edges near sinks and stoves.
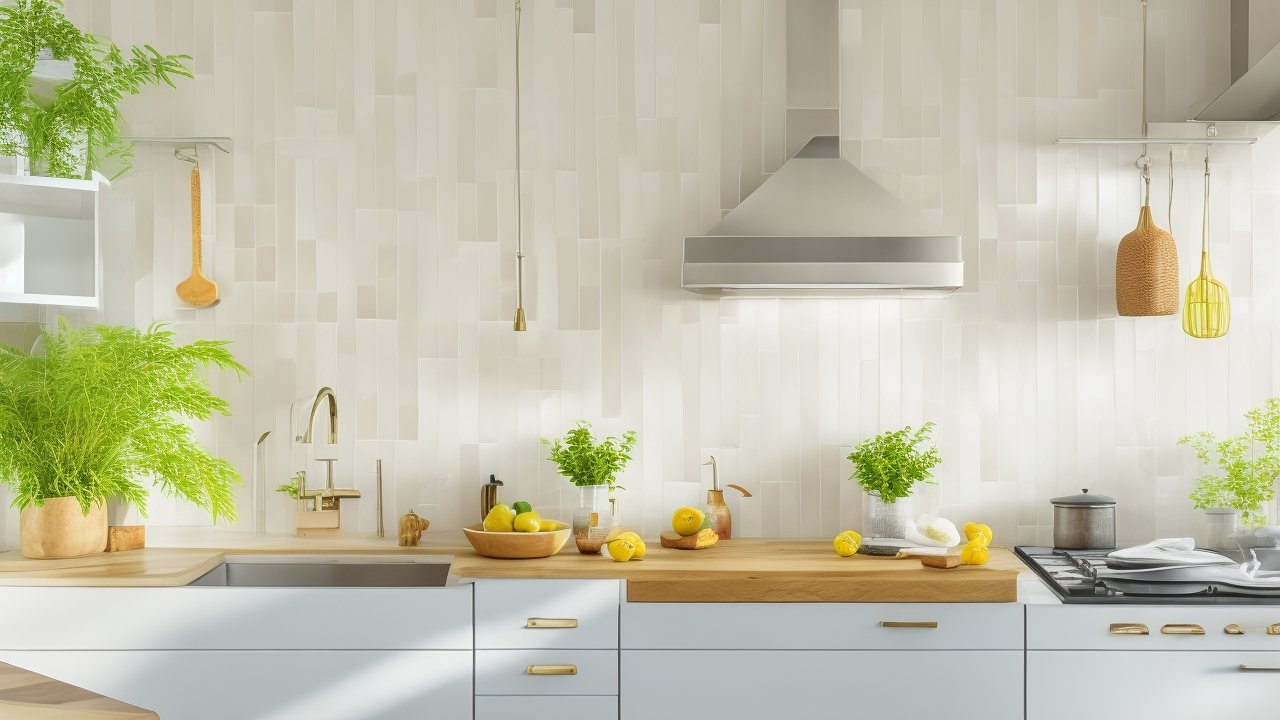
Current Design Styles and Budget-Friendly Options
2025’s hottest trends favor bold, geometric tiles, marble-effect panels, and metallic accents. Peel-and-stick tiles are available in countless finishes—from classic white subway and chic matte black to statement-making blue and gold patterns—so you can personalize your kitchen or bathroom easily. Many options mimic real stone, glass, and ceramic, delivering upscale results at a fraction of the cost.
Key Tips for Success and Safety
- Always wear gloves when trimming tiles to avoid cuts. Keep a first aid kit nearby for minor accidents.
- Choose high-quality peel-and-stick tiles with strong adhesive backings to ensure they stay put even in humid kitchens or bathrooms.
- Measure twice, cut once. Over-order tiles by 15% for waste and future repairs, especially if your layout involves complex corners or appliance cutouts.
Common Mistakes and How to Avoid Them
- Skipping surface prep—dirty or wet walls prevent adhesion and lead to peeling over time.
- Rushing the layout—lack of planning can create uneven rows or mismatched patterns. Dry-fit tiles before sticking.
- Ignoring manufacturer instructions—each brand may have unique sizing or sealing recommendations, so always check guides before starting.
Beyond the Kitchen: Creative Uses for Peel-and-Stick Tiles
- Transform entryway walls for an eye-catching first impression.
- Create a stunning accent wall in your bedroom or living room.
- Upgrade bathroom vanities, laundry rooms, or fireplaces with durable peel-and-stick panels.
Empowering Your Home Improvement Journey
DIY projects like peel-and-stick backsplashes help you take control of your space, save money, and express your unique style with ease. By following a step-by-step approach and leveraging budget-friendly home hacks, you’ll enjoy instant gratification and long-term satisfaction—whether you’re updating one wall or your entire kitchen. With the DIY movement on the rise, there’s never been a better time to roll up your sleeves and get started. Take pride in creating a home that reflects your personality, adds value, and inspires those around you. Ready to tackle your own backsplash makeover? Gather your supplies and let the transformation begin!