Ready to give your kitchen a dazzling transformation without breaking the bank or calling for a pro? Peel-and-stick backsplashes are the hottest DIY fix of 2025—saving you time, money, and mess while instantly elevating your home's style and value. Discover how this budget friendly upgrade delivers stunning results and new confidence in your DIY abilities.
Why a DIY Peel-and-Stick Backsplash Is the Must-Try Home Project This Year
Americans are spending more than ever on home improvements—yet a growing wave of homeowners is getting savvy, opting for projects that offer big impact for modest investment. According to Angi's State of Home Spending report, routine home maintenance projects now top the list, with 36% of surveyed homeowners making these their main priority for 2025.(Angi.com) At the same time, the drive to personalize kitchens with accessible, affordable DIY fixes has exploded, fueled by a desire for smart solutions and flexible style.(Remodel Depot)
The Peel-and-Stick Revolution: What Makes It Special?
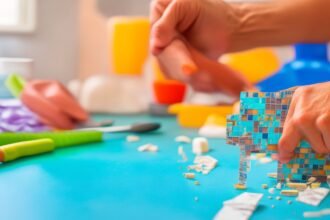
Once a niche product, peel-and-stick tile now dominates the DIY scene. These self-adhesive tiles come in dozens of materials—vinyl, metal, glass, even stone—in every imaginable pattern or color. You simply measure, cut, and stick them over clean existing surfaces. No grout, no special skills, no power tools—or headaches from demo dust and mess. Trends for 2025 include marble-look hexagons, rustic wood grains, and bold geometrics that make even the smallest kitchen pop.
It's not just about aesthetics—the National Association of Home Builders reports that DIY improvements save homeowners a median of $1,500 per project compared to professional installs. That's a huge win for budget friendly dreamers.(NAHB 2025)
Step-by-Step: Transforming Your Kitchen Backsplash in a Day
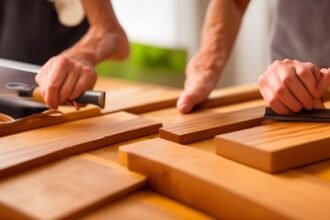
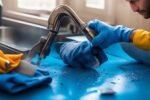
- Prep: Clean your existing backsplash or wall thoroughly—no grease, dust, or debris should remain.
- Plan: Lay out your tiles on a counter or floor to experiment with placement, color, and pattern before you commit.
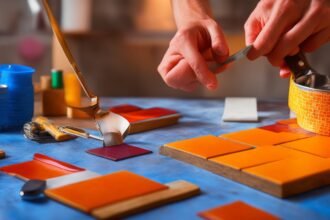
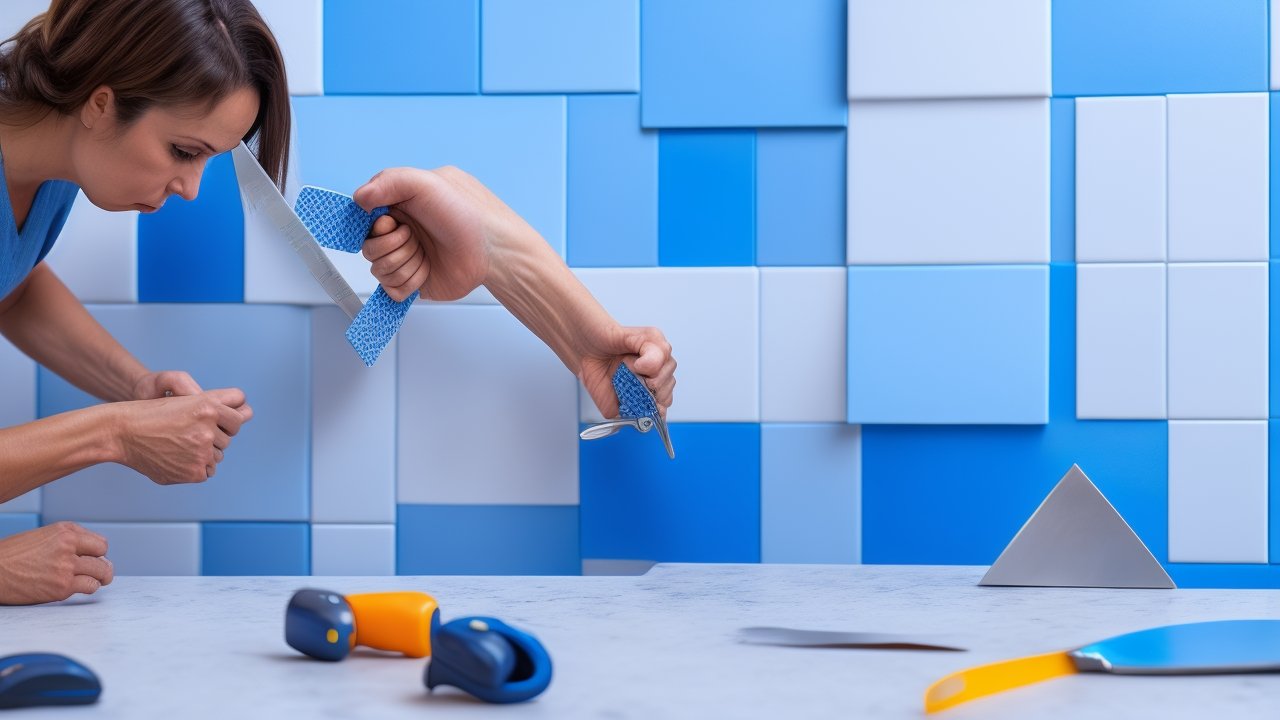
- Cut: Use scissors or a utility knife to trim tiles for corners, outlets, or uneven edges. Many products include guidelines or templates.
- Peel & Stick: Remove the backing and press the tiles firmly onto your wall, smoothing out air bubbles as you go. Seams should be snug but not overlapped.
- Seal (Optional): For backsplash zones near sinks or stoves, consider running a clear silicone bead along the edges for added water resistance.
The Impact: Savings, Satisfaction, and Style
Peel-and-stick backsplash projects strike the ultimate balance between short-term effort and long-term reward. Home Maintenance experts estimate that a DIY backsplash install costs 60-75% less than hiring a specialist—often under $150, depending on material and area size.(Remodel Depot) Even more satisfying, over 80% of DIYers who tackle kitchen upgrades report increased home pride and confidence in their skills, with studies highlighting DIY project success rates consistently above 75%.(Lending Club; Angi.com)
Beyond the Kitchen: Peel-and-Stick Tiles Everywhere
The kitchen isn't the only place to apply this trending solution:
- Refresh a dated bathroom with waterproof peel-and-stick tiles for a new vanity backsplash or accent wall.
- Upgrade an entryway by adding a bold, geometric statement to a blank wall.
- Create a pet-friendly cleaning hack: Add durable adhesive tile below feeding stations or litter boxes for easy wipe-downs.
- Use leftover tile to line cabinet interiors, craft a custom tray, or upcycle old furniture.
Safety & Success: Pro Tips from Home Maintenance Experts
- Use a Level and Tape Measure: Always double-check measurements before cutting to avoid wasted material and crooked lines.
- Remove Outlet Covers Before You Start: This ensures a seamless look and safer application; just be sure power is off when working near electrical areas.
- Test Adhesive on a Small Area: If you have textured or glossy surfaces, test a sample first to ensure proper sticking—and clean away all residue before application.
- Don't Skip Sealing in Moist Zones: Kitchens and baths experience regular splashes. Sealing edges (with a small bead of clear silicone caulk) prevents water penetration to underlying surfaces.
- Wear Cut-Resistant Gloves When Trimming: Protect your hands from utility knife mishaps while customizing tiles.
Preventative Touches: Keep Your DIY Fix Looking Fresh
- Wipe Spills Promptly: While most adhesive tiles are moisture-resistant, long-standing liquids can seep into seams—quick cleaning preserves the look.
- Avoid Abrasive Cleaners: Gentle soapy water or non-abrasive kitchen sprays work best for ongoing maintenance.
- Inspect for Peeling: High-traffic zones or busy family kitchens might require an extra press-down or occasional touch-up. Keeping a few spare tiles ensures effortless repairs if needed.
Frequently Asked Questions About DIY Peel-and-Stick Backsplashes
- How long do they last? Most brands are rated for 5-10 years of regular use when installed on clean, dry surfaces. Heat- and water-resistant versions fare best in busy kitchens.
- Can I remove them later? Yes! Most peel off cleanly with gentle heat (like a blow dryer) and leave little residue. Perfect for renters.
- Are there eco options? Yes, many companies now offer tiles made from recycled materials or non-toxic adhesives—great for sustainable DIYers.
- What if my wall is uneven? Slight imperfections are often masked by flexible tile, but deep gouges should be patched for best results. Use lightweight spackle and sand smooth before application.
Why Peel-and-Stick DIY Fixes Make Sense Now More Than Ever
In a world of rising renovation costs and busier-than-ever calendars, homeowners crave speed, savings, and satisfaction. A DIY peel-and-stick backsplash delivers all three: an instant upgrade that transforms your kitchen—and your confidence—for less than a month of streaming services. Join the tens of thousands finding joy (and serious home value) in these creative DIY fixes. Ready to try it? Gather your tools, invite a friend, and let your imagination lead. The next great transformation starts today—right at home with your own hands.