Ready to transform your kitchen without the chaos or the cost? Peel-and-stick backsplashes are one of today's most popular DIY Home Maintenance trends, offering a budget-friendly, instant facelift that even novice DIYers can master. Refresh your space in just a weekend—and boost home value, comfort, and pride with minimal mess and maximum style.
Why Peel-and-Stick Backsplashes Are the DIY Fix of 2025
As homeowners increasingly prioritize quick, affordable improvements, peel-and-stick backsplashes have rocketed in popularity for kitchen and bathroom upgrades. According to Angi's 2025 State of Home Spending report, 36% of homeowners are focusing on routine Home Maintenance projects this year, with kitchen upgrades—including backsplashes—topping the wish list for all age groups (Angi, 2025).[2][4]
DIY Fixes aren't just popular—they're financially smart. The average annual home maintenance cost reached $6,000 in the US in 2025, according to industry research (Remodel Depot, 2025). This figure is up nearly 20% from three years ago, driving the surge in budget-conscious solutions like peel-and-stick backsplash tiles.[4]
Benefits of Peel-and-Stick Backsplashes
- Easy Application: No grout, glue, or special tools required. Just measure, cut, peel, and press.
- Affordable: Peel-and-stick tiles cost a fraction of traditional tilework, typically $6–$12 per square foot.
- Minimal Mess, Maximum Impact: Skip demolition and dust—these upgrades come together cleanly in a matter of hours.
- Rental-Friendly: No permanent alterations mean these tiles are a top Cleaning Hack for renters looking to personalize their space.
- Variety of Styles: Replicate marble, subway tile, wood, or colorful geometric patterns for any décor preference.
Step-by-Step: Installing Your Peel-and-Stick Backsplash
- Gather Materials: You'll need peel-and-stick tiles, a utility knife or scissors, a straight edge, measuring tape, and a clean rag.
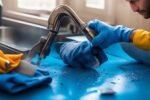
- Prep the Surface: Wipe your wall with soap and water, then dry thoroughly. Remove any outlet or switch covers.
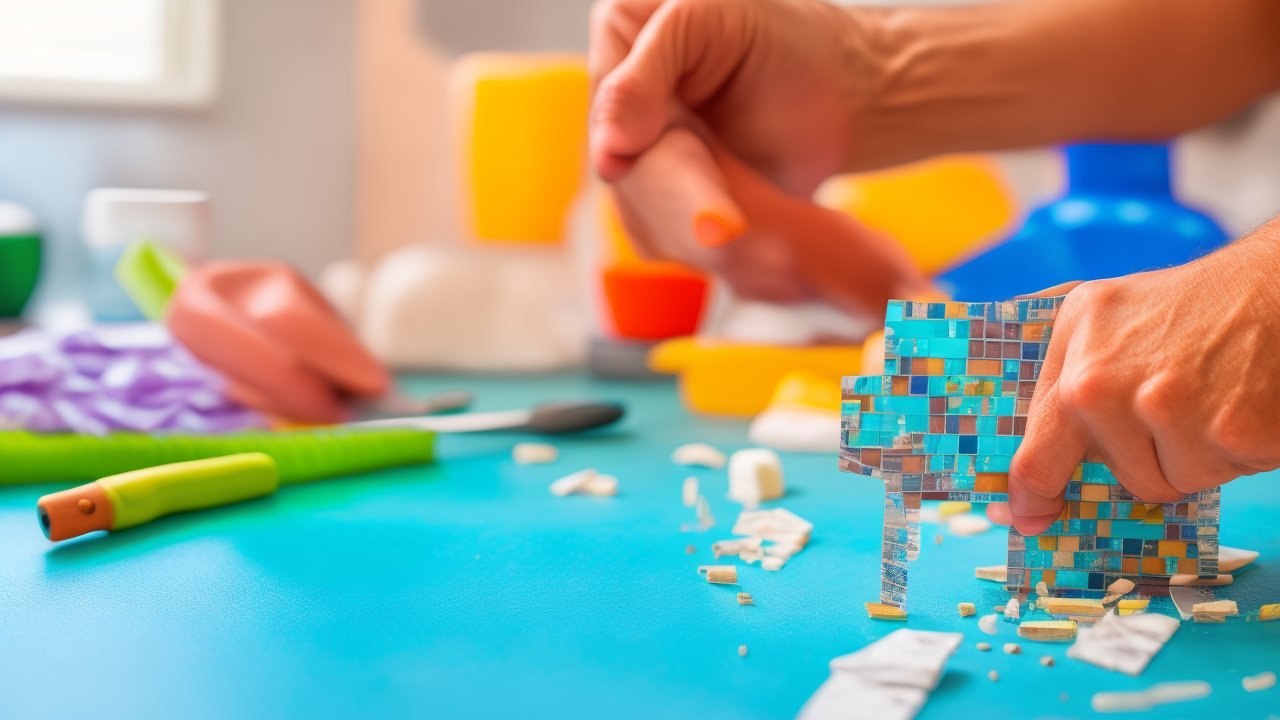
- Plan Your Layout: Measure walls, mark guidelines with a pencil, and perform a dry fit to ensure alignment—especially if using patterned tiles.
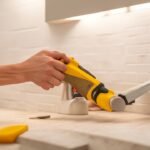
- Peel, Position, and Press: Starting at a corner, peel off a small portion of backing, align the tile, and press into place. Smooth air bubbles with gentle pressure, then continue section by section.
- Trim for Fit: Use a utility knife or scissors for edges, outlets, or awkward corners.
Tips for the Best Results
- Safety First: Always use a sharp utility knife with caution. Cut away from your body and keep hands clear of the blade.
- Surface Prep Matters: A clean, dry wall ensures your tiles adhere securely and last longer.
- Work Slowly: Take your time, especially on the first row. A precise start means straighter and cleaner-looking results throughout.
Maintenance and Troubleshooting for Longevity
These peel-and-stick panels are designed for easy Cleaning and durability. Wipe with a gentle cleanser and soft sponge—avoid abrasive pads or harsh chemicals to prevent wear on patterns or finishes.
- Bubbling or Peeling? Press gently with a warm cloth to reactivate adhesive and smooth out air pockets.
- Edge Lifting? Use a small dot of clear adhesive or tile glue under problem spots—especially near stovetops or sinks.
- Grime Buildup? Mild dish soap and water will keep tiles sparkling. For stubborn spots, a paste of baking soda and water works wonders as a Cleaning Hack.
Creative Ideas for Peel-and-Stick Projects
- Behind the Stove: Choose heat-resistant peel-and-stick tiles for extra protection from cooking splatter.
- Bathroom Vanity Upgrade: Instantly transform the look of a tired vanity backsplash for pennies on the dollar.
- Laundry Room Accent: Add a pop of pattern behind washers and dryers for a cheerful, energy-boosting space.
- Temporary Backsplash for Renters: Customize your kitchen without risking your deposit. Remove tiles gently when you move—no sticky residue left behind.
Preventative Maintenance and Upkeep
- Seal Edges Near Water: Apply clear silicone caulk along the bottom edge where countertops meet backsplash to prevent water intrusion and extend lifespan.
- Check High-Traffic Zones: Periodically inspect corners, outlets, and edges for lifting—the most common trouble spot in busy kitchens.
- Update as Desired: When it's time for a new look, simply peel and replace—no major demolition or repairs required.
The DIY Advantage: Confidence, Value, and Personal Style
According to national data, 76% of Americans who completed a DIY repair in 2025 reported a sense of accomplishment, with most also noting increased confidence for tackling future projects (HomeAdvisor, 2025). Peel-and-stick backsplashes embody this empowering trend, letting homeowners experiment with style, learn new skills, and save thousands in Appliance Repair and remodeling fees.[2][4]
Must-Know Tips for Peel-and-Stick Perfection
- Measure twice, cut once—accuracy saves materials and frustration.
- Stagger seams or use creative patterns for a professional, seamless look.
- Let your newly installed tile set undisturbed for 24 hours before heavy cleaning or exposing to steam.
Budget Friendly DIY Fixes Beyond Backsplashes
If you're inspired to keep the momentum going, here are other quick DIY Fixes and Cleaning Hacks trending for 2025:
- Weatherstrip drafty doors and windows: Cut utility bills and keep your home comfortable year-round.
- Touch up old appliances with DIY paint: Use appliance epoxy or stainless steel coatings for a fresh look.
- Organize with floating shelves: Maximize space and add custom style to kitchens, offices, or bedrooms.
- Declutter and deep clean: Eliminate dirt, dust, and clutter for improved well-being and air quality.[1][3]
Staying Safe During DIY Projects
- Always use a stable ladder or step stool to reach upper walls—never balance on countertops.
- Protect your eyes and skin from tile adhesives or accidental scrapes.
- If a project feels unsafe or beyond your skill set, consult a professional—there's no shame in asking for help![1]
Final Thoughts: Transform Your Space—One Project at a Time
The surge in peel-and-stick backsplash projects is more than a trend—it's a reflection of empowered, cost-conscious, and creative homeowners everywhere. Whether you're looking to tackle a minor Appliance Repair, test out new Cleaning Hacks, or add a statement wall, this year's DIY movement is all about accessible upgrades that safeguard your budget and amplify your style. Start with a manageable project this weekend and discover the joy of seeing your own hard work shine. Your home—and your confidence—will thank you.