Ready to refresh your space and save big? Peel-and-stick upgrades—like easy-to-install backsplashes and accent walls—are today's hottest DIY trend, offering dramatic home makeovers with almost no mess or specialized tools. These budget-friendly solutions bring instant results, transform tired rooms, and boost your home's value, all without hiring a pro.
Why Peel-and-Stick Upgrades Are the Top DIY Fix of 2025
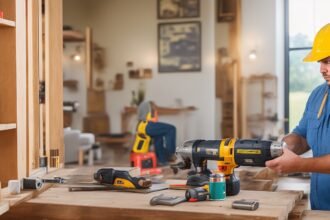
Homeowners are embracing peel-and-stick remodeling, from tiles and wall panels to wallpaper and wood accents, as a top Home Maintenance solution this year. Unlike traditional renovations, these projects are beginner-friendly, require minimal tools, and can be completed in a single afternoon—making them perfect for renters, homeowners, and anyone eager for a quick change.
According to The Farnsworth Group, 73% of DIY home improvement projects in 2025 were motivated mainly by cost savings, as average professional renovation prices have risen more than 15% in the last two years (Farnsworth Group, 2025)[7]. In addition, a recent industry survey shows that DIYers using peel-and-stick products have a success rate over 85% on first attempt, dramatically reducing rework and frustration (Remodel Depot, 2025)[2].
Choosing Your Project: Where Peel-and-Stick Shines
Peel-and-stick technology opens a world of options for affordable, stylish transformations. Choose these high-impact, low-hassle upgrades for your next DIY Fix:
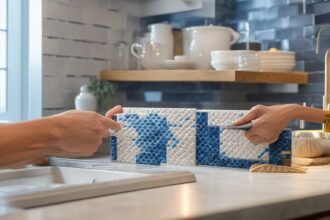
- Kitchen Backsplash: Instantly modernize your kitchen by applying peel-and-stick subway, mosaic, or marble-look tiles. They resist heat and moisture and clean up with just a wipe, making Cleaning Hacks easy and maintenance a breeze[2].
- Accent Walls: Transform bedrooms, living rooms, or offices with textured peel-and-stick wallpaper or wood paneling. No glue, nails, or permanent damage means you can change your design as often as you like[2][1].
- Flooring: Peel-and-stick vinyl planks or tiles are sturdy enough for bathrooms, laundry rooms, or rental properties—saving you hundreds compared to professional flooring installation[4].
- Smart Home Upgrades: Many smart light switches, dimmers, and thermostats are now DIY-friendly and quick to install—no electrician needed for certain wireless options[2].
- Closet & Cabinet Makeovers: Apply decorative contact paper, new hardware, or easy overlay panels to cabinetry or closet interiors for a fresh look without costly replacements[1][3].
The Budget-Friendly Route: What You'll Save
Hiring a contractor for a tile backsplash install typically costs $800–$1,500. Peel-and-stick DIY options, meanwhile, average $100–$300 in materials—and can often be finished in a single weekend[3][2]. Similarly, a professional accent wall might exceed $1,000, while DIY alternatives can run less than $150. Factor in the boosted home resale value and daily enjoyment, and these Budget Friendly upgrades offer unmatched return on investment.
Easy Step-by-Step: Installing a Peel-and-Stick Backsplash
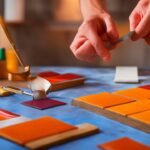
- Plan Your Design: Measure the backsplash area and lay out your tile pattern before removing any backings.
- Prep Surfaces: Clean walls thoroughly—free of dust, grease, or residue. Smooth, primed drywall or tile surfaces ensure a secure bond.
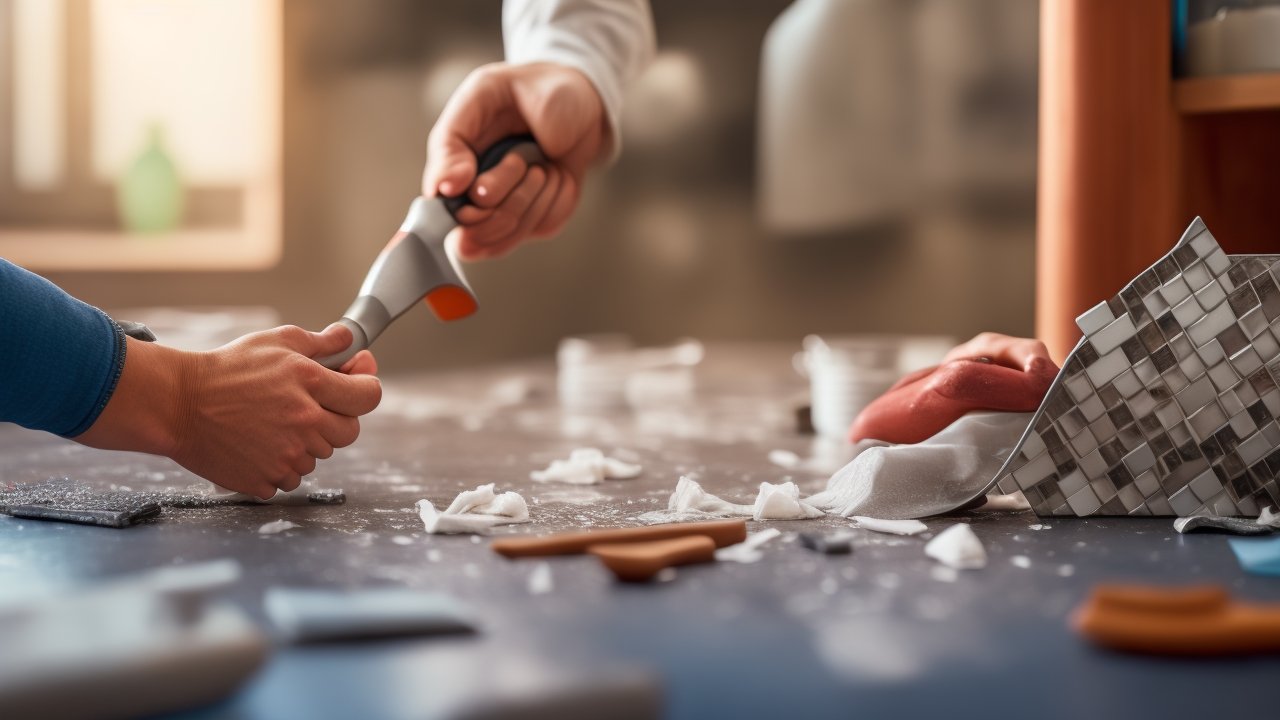
- Start from the Center: Peel off the backing and press each tile firmly in place, starting in the middle for best alignment.
- Work in Sections: Use a level for straight lines and cut tiles with utility scissors or a craft knife for edges and outlets.
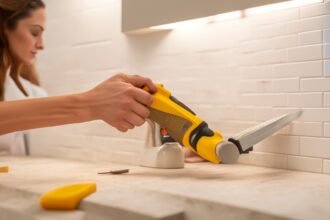
- Seal, if Needed: Some tiles benefit from a bead of caulk at the edges for extra moisture resistance.
Unlike traditional tiling, there's no need for grout, mortar, or heavy-duty tools. If a mistake happens, most tiles can be carefully lifted and repositioned within a few minutes of placement.
Cleaning Hacks & Maintenance: Keeping Your DIY Upgrades Looking New
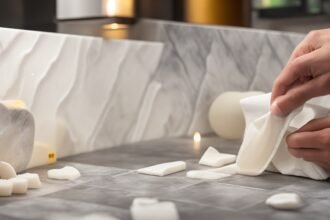
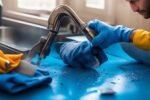
- Wipe Down Regularly: Use a damp, soft cloth with mild soap to remove splatters, dust, or fingerprints from your peel-and-stick surfaces. Avoid abrasive cleaners.
- Spot-Repair: If a tile gets damaged or peels at the corner, cut and replace only the affected section—in minutes, your wall or backsplash looks flawless again.
- Prevention: For high-moisture areas like behind sinks, finish edges with waterproof caulk and check periodically for lifting or water intrusion.
Safety Precautions Every DIYer Should Know
- Wear Protective Gear: Safety goggles, gloves, and a dust mask protect eyes, hands, and lungs when cutting tiles or sanding surfaces.
- Work in a Well-Ventilated Area: Even low-VOC adhesives can irritate sensitive individuals; open windows or use fans if working with multiple panels.
- Check Compatibility: Verify that existing surfaces—old paint, drywall, or tile—are compatible with peel-and-stick adhesives for the best bond and less risk of damage upon removal.
Pro Tips for Flawless, Long-Lasting Results
- Take Your Time: Measure carefully, double-check placements, and avoid rushing. Most errors happen due to haste, not complexity.
- Temperature Matters: Adhesives bond best in moderate temperatures. Avoid installing in extreme cold or humidity to prevent peeling.
- Invest in Quality Products: Higher-grade tiles and reputable brands offer longer lifespans and easier installation—saving you time and money in the long run.
Preventative Maintenance: Protect Your DIY Investment
- Perform Regular Checks: Inspect corners and seams for signs of peeling every few months—especially in kitchens and bathrooms.
- Address Spills Immediately: Wipe up liquid spills and food splashes promptly to prevent adhesive breakdown or staining.
- Update as Trends Change: Peel-and-stick products make it simple to refresh your look as seasons or styles evolve—no permanent commitments.
Beyond the Surface: Expanding Your DIY Skills
Diving into peel-and-stick upgrades is more than an easy fix—it's a gateway to bigger, more personalized Home Maintenance projects. As confidence grows, many homeowners tackle custom shelving, furniture builds, or even smart home tech installations, leveraging the ease and affordability offered by today's best DIY kits[2][1]. With the majority of DIYers now reporting increased satisfaction and confidence after their first successful project (Farnsworth Group, 2025)[7], there's never been a better time to learn new skills and take control of your home's comfort and style.
Why Now? The Perfect Time to Update Your Space
Rising material and labor costs make professional renovations increasingly out of reach for many households, but DIY Fixes and Appliance Repair projects give power—and major savings—back to the homeowner. In 2025, the average American spends over $3,800 on annual home maintenance (HomeAdvisor, 2025)—up from $2,900 just a few years ago. By mastering peel-and-stick upgrades and simple troubleshooting, you can keep your spaces fresh, safe, and efficient without busting your budget.
Get Started: Your Home, Your DIY Success Story
Every successful DIY project brings a sense of accomplishment and a tangible, lasting upgrade you can enjoy every day. By joining millions of homeowners using cutting-edge, budget-friendly techniques like peel-and-stick installation, you can solve common problems, add value, and express your creativity—all while keeping your wallet happy.
Ready to roll up your sleeves and experience how easy, fun, and transformative home DIY can be? Start small and dream big—your next weekend could begin the home transformation you've always wanted.