Ready to revolutionize your kitchen without breaking the bank or calling a contractor? Peel-and-stick backsplash upgrades are sweeping homes in 2025, letting you refresh your space with pro-level style, minimal mess, and big savings. Discover how this trend delivers speedy, budget-friendly impact—and sets you up for years of easy maintenance.
Why Peel-and-Stick Backsplash Is the DIY Star of 2025
Homeowners and renters alike are embracing peel-and-stick backsplashes as one of the most popular DIY fixes of the year. The appeal: no grout, no special tools, and no dusty demolition—just measure, peel, stick, and admire. According to Remodel Depot, "DIYers are loving peel-and-stick backsplashes, wallpapers, and wood accent walls—no messy glue or nails required!" These fast, affordable upgrades are ideal for renters and homeowners alike[3].
The Cost of Home Maintenance and the DIY Advantage
In 2025, North American homeowners face rising home maintenance costs. The average Canadian homeowner spends approximately $13,000 annually on renovations and repairs, making DIY solutions more attractive than ever for controlling expenses[4]. In the U.S., research indicates that nearly 73% of homeowners who tackled DIY repairs in 2024 reported saving at least $500 each, compared to hiring professionals (HomeAdvisor, 2024).
Benefits of Peel-and-Stick Backsplashes
- Budget Friendly: Most projects cost between $50 and $250—far less than professional tile installation.
- Quick Results: Installations typically take under two hours even for beginners.
- Low Mess and Hassle: No grout, no mortar, no power tools needed.
- Modern Style: A wide variety of colors, textures, and finishes allow for high-impact design upgrades.
- Easy Maintenance: Wipe-clean surfaces resist stains and water buildup, ideal for busy kitchens.
Choosing the Right Peel-and-Stick Tile
With trends shifting toward self-adhesive materials, today’s market offers faux marble, subway tile, metallic finishes, and geometric patterns. Major home improvement suppliers note, "Quality materials are now available at up to 70% off retail," thanks to the rise of warehouse pricing and direct-to-consumer brands[3]. Factor in durability, ease of cleaning, and compatibility with your kitchen wall surface when selecting tiles.
Step-by-Step DIY Installation Guide
- Measure Your Backsplash Area: Use a measuring tape and mark dimensions to ensure you purchase the correct amount of tile.
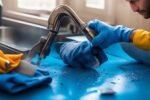
- Clean and Prep the Wall: Remove any grease or debris with a mild cleaner; let dry thoroughly for best adhesion.
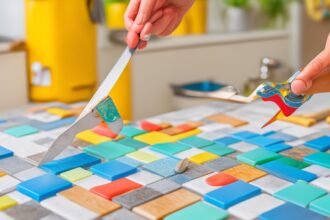
- Plan Your Pattern: Lay out the first few panels on a flat surface to visualize the design and fit.
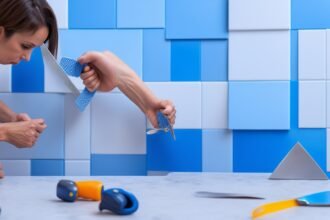
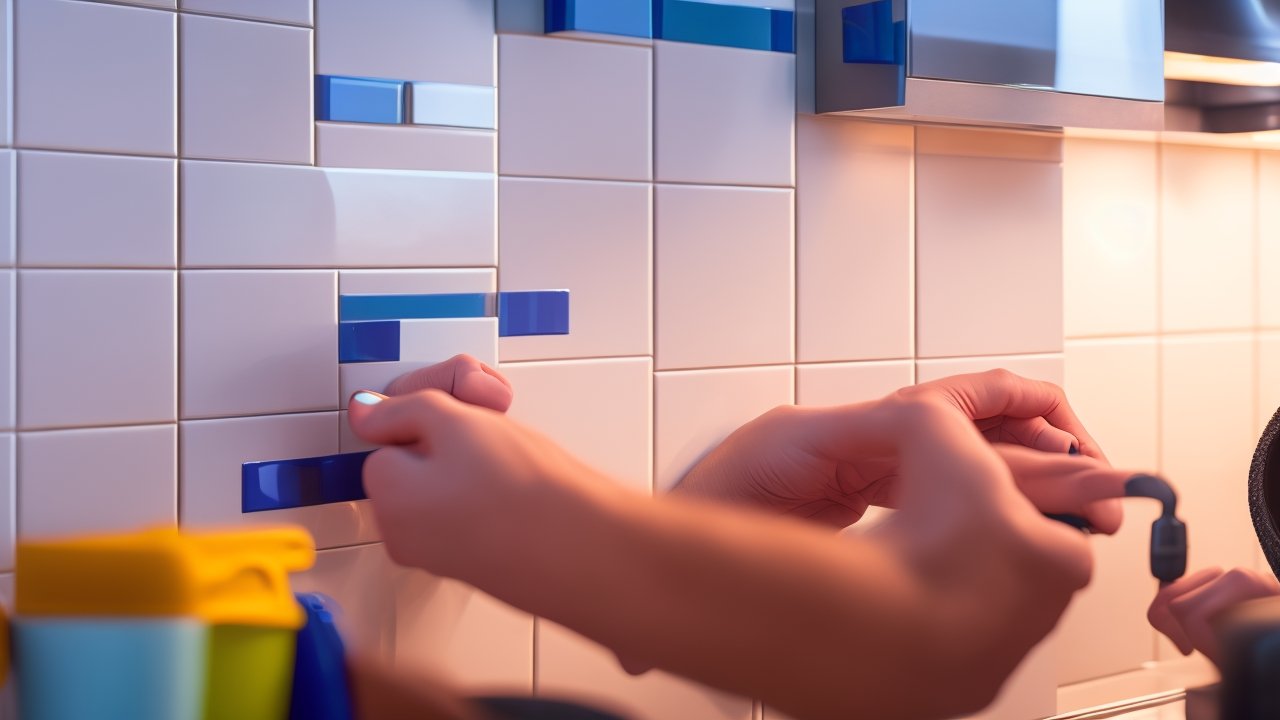
- Peel and Stick: Begin with a corner or edge. Peel off the backing, align the tile carefully, and stick it in place. Smooth out bubbles with a dry cloth or plastic scraper.
- Trim Edges: Use a utility knife or scissors to trim panels for outlets, corners, or awkward spaces.
- Seal the Edges (Optional): Consider a small bead of clear caulk along the backsplash perimeter for extra moisture protection, especially around sinks.
DIY Troubleshooting Tips
- If tiles aren’t sticking, wipe the wall again with rubbing alcohol and let dry fully before reapplying.
- Stubborn air bubbles can be punctured gently with a pin and smoothed out.
- For uneven surfaces, use lightweight wall filler to cover small holes or gaps before installation.
Preventative Maintenance and Cleaning Hacks
- Daily Cleaning: Wipe with a damp sponge and mild soap; avoid abrasive materials that could scratch the finish.
- Moisture Control: After heavy cooking or steaming, open kitchen windows or run an exhaust fan to reduce humidity.
- Spot Repair: If a section gets damaged, simply peel off and replace individual tiles—no full redesign needed.
Safety Precautions for DIY Projects
- Use a Stable Step Stool: Never stand on a chair when reaching high areas.
- Wear Cut-Resistant Gloves: Especially when trimming tiles with sharp tools.
- Turn Off Electrical Power: When working near outlets or switches, switch off the relevant breaker.
Environmental and Energy Efficiency Benefits
Updating your kitchen with a peel-and-stick backsplash often fits into broader home maintenance and troubleshooting efforts. Modern materials conserve resources: many are made with recycled content, and the ability to do it yourself means reduced labor-related emissions. Homeowners who pair backsplash installs with smart thermostats and upgraded appliances can save several hundred dollars a year on energy bills (Extraspace, 2025)[2].
Beyond the Kitchen: Creative Uses for Peel-and-Stick Tiles
- Bathroom accent walls: Water-resistant panels make for easy cleaning and mold prevention.
- Laundry rooms: Protect walls from moisture and add a splash of pattern.
- Rental units: Temporary designs allow you to upgrade without violating lease terms; easy removal before moving out.
- Kids’ rooms: Fun colors and quick changes as styles evolve.
Common DIY Questions and Troubleshooting
- Can I install peel-and-stick tiles over existing tiles? Yes, as long as the old surface is clean, flat, and adheres well. Avoid loose or uneven tiles.
- Will tiles peel off over time? High-quality brands include stronger adhesives meant to last for years. Follow the manufacturer’s prep instructions diligently for best results.
- Can I cut tiles for outlets and corners? Absolutely. Most peel-and-stick panels are thin—use utility scissors or a craft knife for precise cuts.
How This Trend Impacts Your DIY Success
Studies show the DIY home maintenance boom is delivering both financial relief and increased home satisfaction. In 2025, more than 65% of U.S. homeowners say they feel "more capable and confident" in tackling repair and update projects on their own (National Association of Realtors, 2025). Successful DIY fixes like peel-and-stick backsplashes are creating durable, attractive spaces—without costly contractor fees or lengthy disruptions.
Three Must-Remember DIY Tips for 2025
- Prepare Thoroughly: Accuracy in measuring and surface prep yields professional results and lasting durability.
- Choose Quality Materials: Premium self-adhesive panels last much longer and look more authentic than cheaper alternatives.
- Work Safe: Never rush when using sharp tools, and always check for electrical hazards.
Keep Your Kitchen Fresh: Maintenance and Upkeep
Your new backsplash delivers immediate style, but ongoing cleaning ensures it remains a standout feature. Use non-abrasive cleaners and avoid harsh chemicals. If grease splatters accumulate, a mix of vinegar and water works wonders for most tile finishes.
Go Beyond: The DIY Fix Mindset
The popularity of peel-and-stick backsplash upgrades shows a broader shift toward hands-on appliance repair, smart troubleshooting, and inventive cleaning hacks for every room. Whether you’re managing daily spills, tackling a noisy dishwasher, or reorganizing garage chaos, DIY solutions empower you to solve problems quickly, affordably, and with pride.
Your Invitation: Start Your Own DIY Trend
Ready to boost your home’s style, cleanliness, and value—one smart project at a time? Grab a pack of peel-and-stick tiles and transform a tired kitchen corner this weekend. Remember, every skill you build makes future home maintenance easier and more satisfying. Dive into DIY fixes, take charge of troubleshooting, and enjoy the budget-friendly results. There’s never been a better time to start—your home will thank you for it!