Ready to make your home feel new—without breaking the bank or calling a contractor? The latest DIY trend puts the power of instant, stylish upgrades right in your hands, saving money and hassle while boosting your space’s wow factor. Discover how easy peel-and-stick projects can deliver dramatic transformations for kitchens, bathrooms, and more.
Why Peel-and-Stick Upgrades Lead 2025 Home Maintenance Trends
As homeowners and renters search for ways to maximize their dollars, peel-and-stick solutions have surged to the top of the DIY Fixes landscape. This surge is driven by the need for budget-friendly, damage-free, and landlord-approved improvements—especially as labor and material costs remain high. In 2025, over 56.4% of homeowners plan to tackle flooring, while 44.9% are targeting walls with updated wallpaper or paint, based on recent reports from This Old House and leading industry surveys[2]. Notably, more than 50% of homeowners handle home maintenance and upgrades themselves each quarter, with average DIY spending reaching $4,700 in Q4 2024, according to The Farnsworth Group[5].
The Benefits of Peel-and-Stick: Fast, Clean, and Cost-Effective
What makes peel-and-stick tiles, wallpaper, and wood paneling such a game-changer? These products require no messy glue, grout, or special tools. You can revitalize backsplashes, accent walls, or even entire rooms in a matter of hours—no professional skills required. Ideal for both renters seeking non-permanent options and homeowners eager for swift, stress-free updates, peel-and-stick upgrades invite everyone to participate in the DIY movement.
- Budget-Friendly: Save thousands in labor by skipping the pro install and tackling projects yourself. Materials can be found for up to 70% less at specialty DIY suppliers compared to big-box stores[1].
- No Commitment: When tastes or leases change, simply peel off and move on—no damage, no residue.
- Customization: Mix, match, and experiment with patterns and materials that reflect your personality, from herringbone tile to bold geometric wallpaper.
Not convinced yet? Consider that kitchen and bathroom upgrades driven by peel-and-stick solutions are among the most popular home improvement projects with high returns on investment, as confirmed by the National Association of Realtors and highlighted in 2025 trend reports[2].
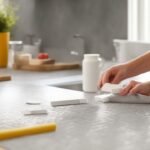
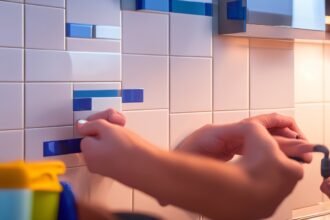
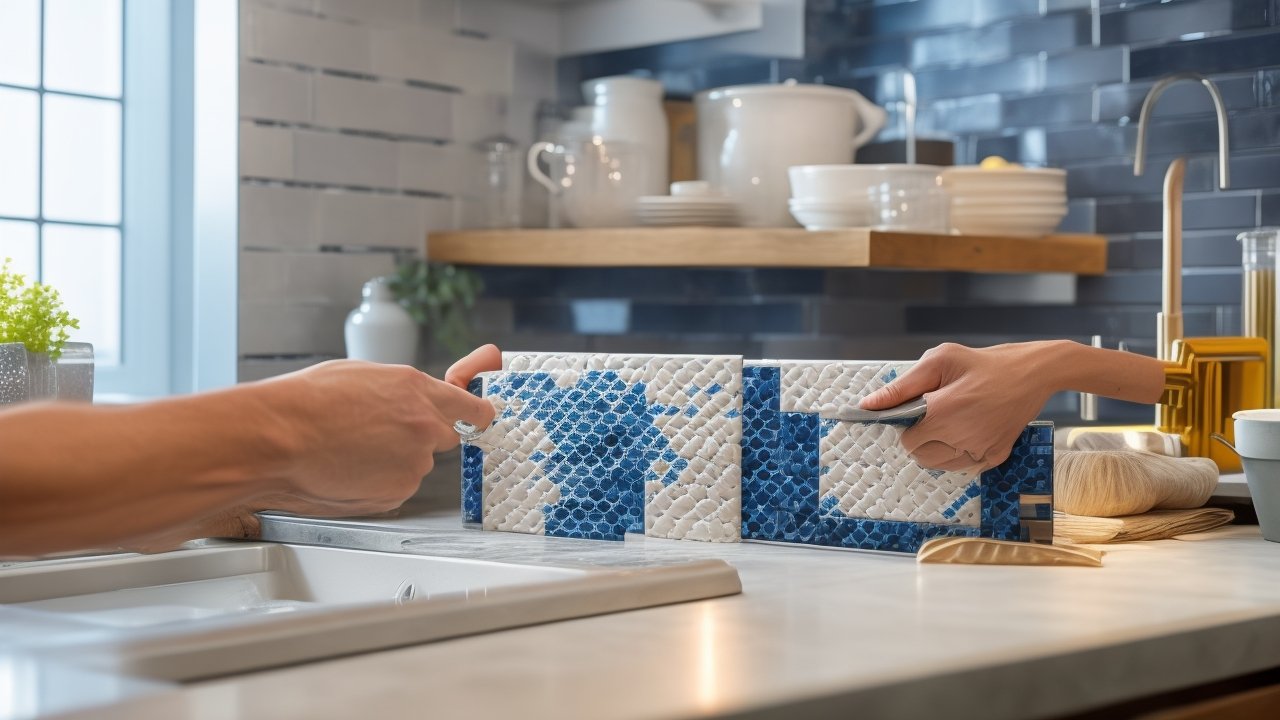
Step-by-Step Guide: Peel-and-Stick Backsplash Transformation
Upgrading your kitchen or bathroom backsplash can make your entire space look new. Here's how to do it:
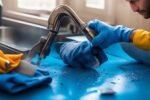
- Clean the area thoroughly to ensure proper adhesion. Remove grease, dust, and any loose debris.
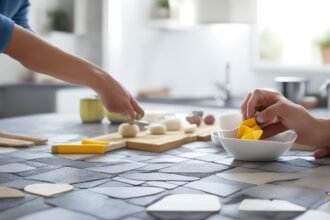
- Measure the space and select your favorite peel-and-stick tile or wallpaper design.
- Mark guidelines with a level and pencil for straight application.
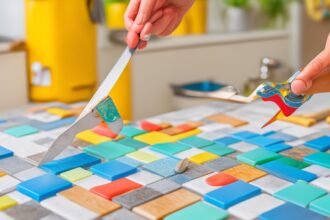
- Peel off the backing and press the tile firmly onto the wall, smoothing out bubbles as you go.
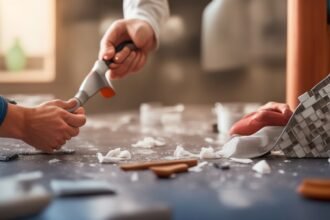
- Trim edges and corners as needed with a utility knife or scissors.
- Wipe down the finished surface and step back to admire your handiwork!
The Most Popular Peel-and-Stick Projects for 2025
- Kitchen Backsplashes: Marble-look, subway, or geometric patterns deliver a high-impact facelift without messy grout.
- Accent Walls: Transform bedrooms and living rooms with peel-and-stick wallpaper featuring textures, colors, or statement prints.
- Wood Paneling: Add warmth and architectural interest with 3D peel-and-stick planks for a rustic or contemporary vibe.
- Bathroom Updates: Refresh tub surrounds or create bold focal points with water-resistant peel-and-stick options.
- Flooring: Quick-lay vinyl and laminate tiles revive tired floors in laundry rooms or rental units—without permanent commitment.
Safety Precautions for Effortless and Secure DIY Fixes
- Read Instructions Thoroughly: Every product is different; always follow manufacturer guidelines for surface prep and installation.
- Check for Moisture and Surface Damage: Avoid applying to damp, cracked, or uneven surfaces for best results and longest-lasting adhesion.
- Use the Right Tools: A level, measuring tape, and sharp cutting tool help you avoid mistakes and keep lines crisp.
Prevention & Maintenance: Keeping Your Upgrades Looking Fresh
- Seal and Protect: For areas exposed to water (like backsplashes or bathroom walls), apply a clear sealer designed for use with peel-and-stick products to protect against moisture and stains.
- Gentle Cleaning Only: Use a mild detergent and a soft cloth to wipe surfaces—harsh scrubbing or chemicals can damage the finish and lift the adhesive.
- Inspect Regularly: Address any peeled corners or bubbles as soon as they appear to prevent dirt or moisture from getting behind panels.
Trends to Try: Personalize, Upgrade, and Stay on Budget
The best DIY upgrades are those that reflect your unique style while sticking to your budget and skill level. In addition to peel-and-stick innovations, homeowners are also incorporating:
- Custom Woodworking and Built-Ins: Floating shelves and floor-to-ceiling bookcases made with simple tools can maximize storage and add value.
- Smart Accessories: DIY-friendly smart thermostats and dimmable LED bulbs can be installed without an electrician, slashing energy use and boosting comfort[4].
- Eco-Friendly Practices: Repurpose old furniture, use low-VOC paints, or choose reclaimed materials for a sustainable touch[1].
Boost Your Confidence: DIY Success Rates & Satisfaction
You might be surprised by just how successful most home DIYers are. According to The Farnsworth Group, over half of all homeowners undertake DIY projects every quarter[5], and most cite cost savings, satisfaction, and improved home comfort as main motivators. With today's peel-and-stick solutions, the barrier to success is lower than ever—making it a perfect entry point even for beginners.
Expert Tips for Avoiding Common Mistakes
- Buy Extra Material: Order 10% more than you think you need to account for pattern matching and errors.
- Test a Small Area First: Try one piece in an inconspicuous spot to verify adhesion and appearance.
- Don't Rush: Take your time in preparation and installation—lining up patterns and smoothing out bubbles makes all the difference in a professional-looking result.
The Power of DIY: Save, Learn, and Enjoy Your Updated Home
Peel-and-stick upgrades embody the very essence of modern Home Maintenance and DIY Fixes: empowering you to trouble-shoot, repair, and revitalize your space on your own terms. They pair perfectly with today's Cleaning Hacks and organizational systems—offering easy maintenance and endless style flexibility.
If you've been waiting for the right project or doubting your DIY skills, this is your moment. Peel-and-stick technology makes home improvement truly accessible, and the booming DIY community is proof that anyone can achieve professional-looking results at a fraction of the cost. Take the leap—your refreshed, energy-efficient, and beautifully updated home awaits!