Tired of dull walls or outdated surfaces? Imagine transforming your home in just one weekend—with no contractors, messy glue, or expensive tools. The peel-and-stick revolution is empowering homeowners to personalize their spaces quickly, affordably, and with style, making this the hottest DIY home maintenance trend of 2025!
Why Peel-and-Stick Projects Are Dominating Home Maintenance
Peel-and-stick materials—coverings like tile, wood paneling, and wallpaper—have captured the hearts of DIYers and home improvement novices alike. In 2025, these innovations aren't just for renters; they offer lasting solutions for homeowners seeking budget friendly home upgrades with professional results.
According to Remodeling.com, the average American household spent $4,000 on home maintenance and repairs in 2024 (Remodeling.com, 2024). With annual costs rising and supply chain uncertainties driving up contractor fees, more than 73% of homeowners now attempt at least one major DIY fix each year, a 21% increase since 2020 (Home Improvement Research Institute, 2025).
Peel-and-Stick: The Key to Effortless DIY Fixes
Peel-and-stick products let you skip the mess and hassle. Simply measure, cut (if needed), then peel and apply. Here are the key trends driving their popularity:
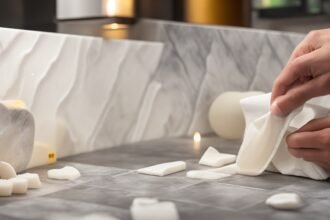
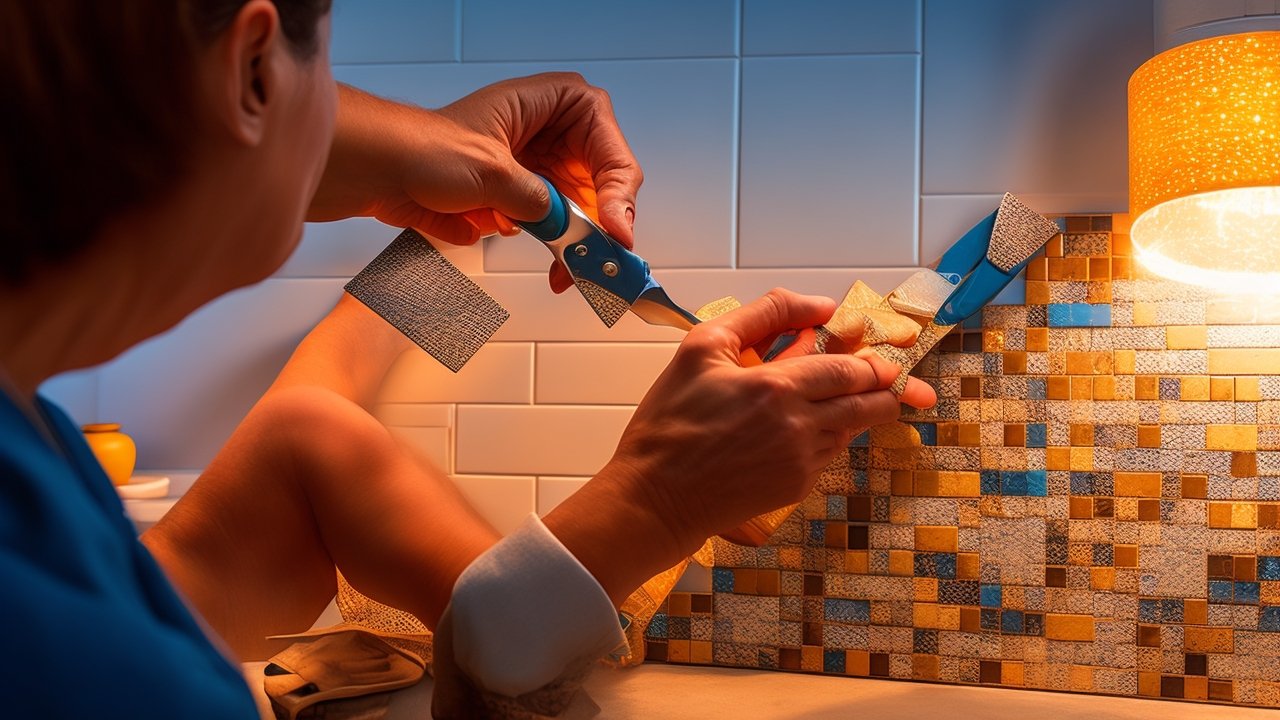
- Kitchen Backsplashes—Marble-look and mosaic-style tile panels can revitalize your cooking space in under an hour, requiring only a straight edge and scissors.
- Textured Accent Walls—Faux-wood and 3D effects add depth and warmth to bedrooms, living rooms, or entryways—with no nails or adhesive fumes.
- Easy Bathroom Upgrades—Waterproof vinyl tiles modernize bathrooms or laundry areas for a fraction of the installation time and cost of ceramic.
Step-by-Step: How to Complete Your First Peel-and-Stick Project
- Choose Your Surface: Make sure the area is clean, dry, and smooth. Most peel-and-stick products adhere best to paint, drywall, or sealed surfaces.
- Plan Your Pattern: Measure twice, cut once. Lay out your design before removing the backing to ensure symmetry and pattern direction.
- Apply with Care: Start from one edge, peeling the backing gradually as you press out air bubbles with a flat tool.
- Finishing Touches: Trim edges with a utility knife or scissors. For kitchens and bathrooms, seal seams with clear caulk if needed for extra protection against moisture.
The Power of DIY: Statistics That Inspire
The Home Improvement Research Institute reports that 61% of surveyed homeowners said completing a DIY project boosted confidence and satisfaction in their home (HIRI, 2025). Moreover, peel-and-stick upgrades increase perceived home value by an average of 7% compared to similarly priced traditional renovations (National Association of Realtors, 2025).
Key Benefits of Peel-and-Stick DIY Fixes
- Budget Friendly: Transform entire rooms for a fraction of professional remodeling costs.
- Time Efficient: Many projects can be finished in a single afternoon, perfect for busy schedules.
- Removable & Reversible: Ideal for renters and indecisive decorators—safe removal means no commitment anxiety.
- Minimal Tools Required: A tape measure, scissors, and a smoothing tool are all you need, keeping equipment costs low.
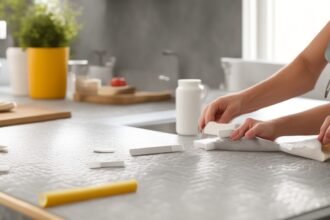
Cleaning and Maintaining Your New Surfaces
Peel-and-stick products are designed for easy upkeep:
- Use a soft cloth or sponge with gentle cleaning solutions; avoid harsh abrasives that could lift the pattern.
- For kitchens, wipe down after cooking to prevent grease buildup and keep the material looking fresh.
- Check edges periodically—if you notice lifting, re-press or apply a small amount of clear adhesive to prevent moisture or dirt from getting underneath.
Safety Tips and Precautions for DIY Enthusiasts
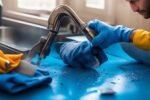
- Ventilate the Area: Work in a well-ventilated space when using scissors, knives, or smoothing materials with adhesives (even "odor-free" brands can off-gas).
- Use Protective Gear: Wear gloves when cutting materials to prevent accidental nicks, and always use a straightedge for clean, safe cuts.
- Electronics Alert: When working around electrical outlets or appliances, turn off the power at the breaker to prevent shock risk, especially when applying backsplash panels or wall coverings.
Preventative Maintenance: Keep Your Upgrades Looking New
- Inspect frequently-used surfaces each month; re-seal or touch up as needed to keep tight edges and water resistance intact.
- For floors, add felt pads to furniture legs and sweep often to prevent scratches or wear on vinyl panels.
- Store leftover materials for quick future fixes—unused tiles or panels can seamlessly patch high-traffic or accidental damage spots.
Beyond Surfaces: More DIY Home Maintenance Hacks
Peel-and-stick is just one piece of the DIY puzzle. Want more quick wins for your Home Maintenance routine?
- Install Smart Thermostats: Save up to 10% annually on heating and cooling by programming your environment. Easy Wi-Fi-enabled models make setup fast and efficient.
- Upgrade Shower Heads: Modern low-flow fixtures cut water use and improve shower experience—most can be installed with basic pliers and plumber's tape.
- Declutter With Floating Shelves: Stick-on mounting strips allow you to add shelving without drilling into walls, perfect for renters or rooms with frequent layout changes.
Addressing Common Concerns: Troubleshooting Your DIY Peel-and-Stick Project
What if my panels don't stick? Ensure your surface is free of dust and residue. Hard-to-adhere areas can be prepped with a light sanding or an alcohol wipe.
How do I remove air bubbles? Use a smoothing tool or credit card, starting from the center and working outward. For stubborn bubbles, a small pinhole can release trapped air.
Making It Last: When to Bring in Professional Help
While DIY fixes are often sufficient, some situations call for expert intervention:
- If you discover mold, extensive water damage, or crumbling drywall under old materials, consult a pro before applying new surfaces.
- Electrical panel upgrades or serious plumbing changes should always be handled by licensed contractors for safety and code compliance.
More Than a Trend: The Empowering Effect of DIY Fixes
The rise in DIY home improvement shows a nationwide movement toward greater confidence, control, and pride in our living spaces. With each project, you're not just updating your surroundings—you're building skills, saving money, and protecting your most valuable asset.
Why not start today? The tools are easy to use, the impact is immediate, and your future self—and your wallet—will thank you. Let the peel-and-stick transformation kickstart your next big win in Home Maintenance, Troubleshooting, and DIY Fixes!